Quickstart: Fixie Sidekicks
One of the best use cases for AI.JSX is to build a Sidekick, an AI-powered chatbot that is embedded in a web page or app and is able to answer questions, call APIs, and more. AI.JSX makes it easy to build Sidekicks with a rich UI, access to documents, and the ability to fetch live data and take action via API calls.
Sidekicks can be built and deployed in minutes. This quickstart will walk you through the entire process of building and deploying your own Sidekick.
This tutorial relies on both AI.JSX as well as the Fixie cloud platform, which provides a suite of APIs and tools for hosting and managing Sidekicks. It is possible to build and deploy Sidekicks without Fixie, but using Fixie makes the process much easier.
At the end of this quickstart you will:
- Be Up & Running → Prereq's installed, accounts set-up, demo Sidekick up and running.
- Be Ready to Customize → Take the demo code and start customizing it for a custom Sidekick.
- Feel Amazing → You will feel so good you might try attempting a jumping, flying sidekick.*
*Consult your medical and/or physical fitness professional first. Do not attempt in tight pants.
Step 0: Prerequisites
Before you get started, you will need to have a free Fixie developer account and have some tools installed on your machine. You will also need a text editor. If you don't have a preferred text editor, we recommend Visual Studio Code.
If you are using a Windows machine, we highly recommend using the Windows Subsystem for Linux (WSL) for development with Node.js. This is optional. If you want to use WSL, follow this guide which will get you set-up with WSL, Node, and VSCode (for your text editor).
a) Get a Fixie developer account
We will use Fixie for hosting and managing our Sidekick. Sign up for a free Fixie developer account:
- Go to the Fixie console page.
- Create an account using either a Google or GitHub account.
- Navigate to your profile page.
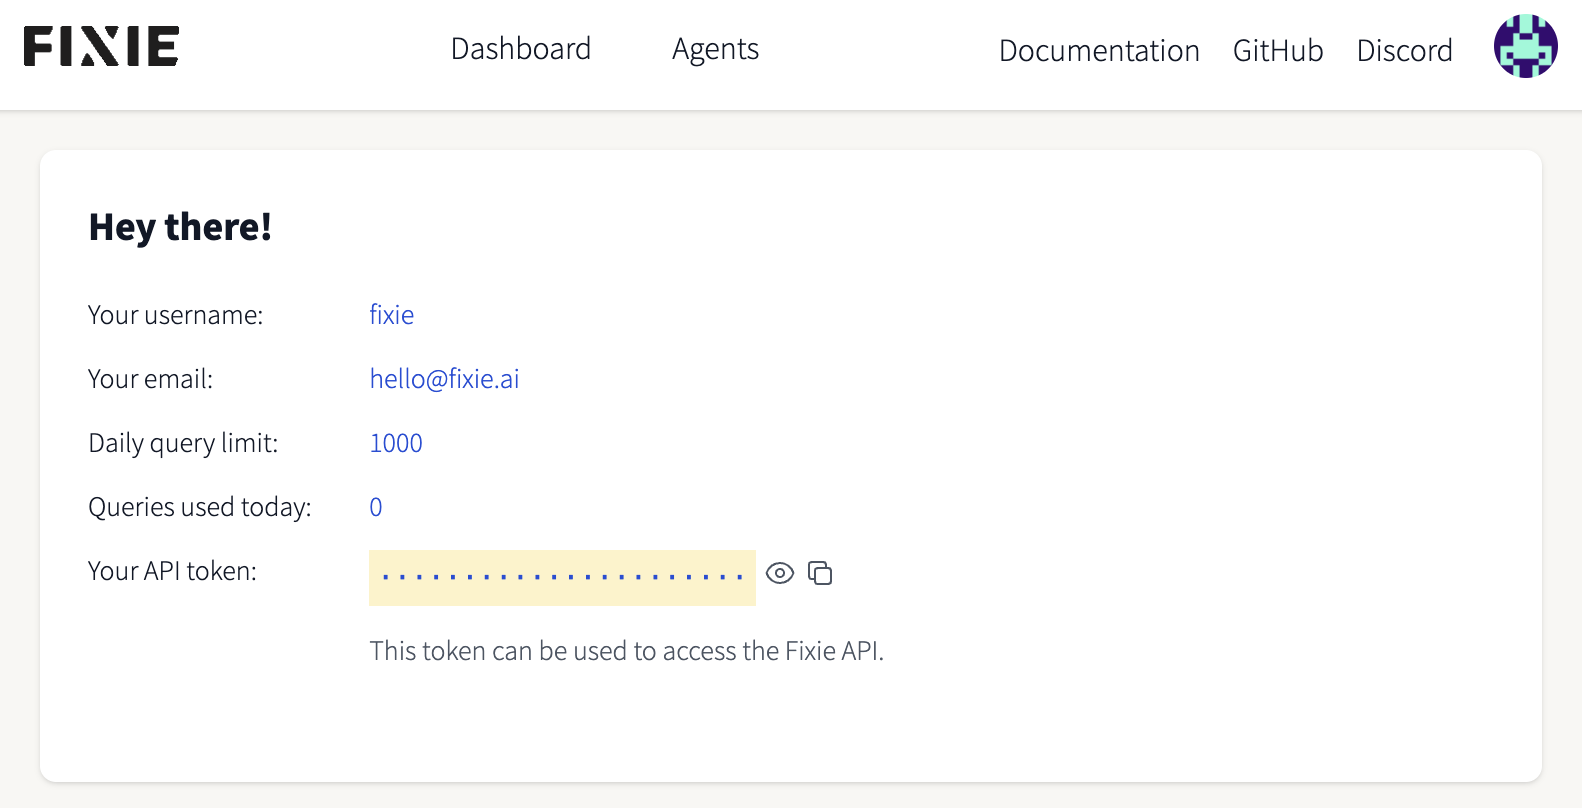
The Fixie Console is where you will test and manage your Sidekick once it's built. For now, the main thing you need is your Fixie API Key, which is found on your profile page.
b) Install Node.js
Sidekicks are based on AI.JSX, which in turn relies on Node.js, a JavaScript runtime. Install the current LTS version of Node.js.
c) Install the Fixie CLI
The Fixie command-line interface is provided by the fixie package in NPM. Install it by running:
$ npm install -g fixie@latest
This will install the fixie binary.
d) Authenticate the Fixie CLI
To configure the Fixie CLI to login to the Fixie service, just run:
$ fixie auth
This will open a browser tab to authenticate to the Fixie console. The Fixie CLI should now be configured to work with your Fixie account.
Step 1: Clone the Sidekick template repository
Now that we have the prerequisites out of the way, let's download and deploy the Fixie Sidekick template.
Clone the fixie-sidekick-template repository from GitHub:
git clone https://github.com/fixie-ai/fixie-sidekick-template.git
If this command fails you may need to install Git.
You can also download the code directly from the source. While you're there, give us a star! 🦊
Step 2: Build the Sidekick code
TODO(matt): We need to set up a public Corpus ID that the template Sidekick can use out of the box without the user having to create one. I am prioritizing this!
The Sidekick is implement in TypeScript with AI.JSX, so you need to
build it before it can be deployed. To do this, in the fixie-sidekick-template
directory, run:
$ npm install
$ npm run build
The resulting JavaScript code should now be in the dist/ subdirectory.
Step 3: Deploy the Sidekick
In the fixie-sidekick-template directory, simply run:
$ fixie deploy
This will deploy the Sidekick to the Fixie cloud service. It takes a couple of minutes, but once the process is done, you will see a link to the Sidekick's page on the Fixie Console. For example:
❯ fixie deploy
🦊 Deploying agent mdw/fixie-sidekick-template...
🦊 Creating new agent mdw/fixie-sidekick-template...
⠋  🚀 Deploying... (hang tight, this takes a minute or two!)
✔ Agent fixie-sidekick-template is running at: https://console.fixie.ai/agents/mdw/fixie-sidekick-template
Step 4: Try it out!
Surf on over to the Sidekick URL shown by the fixie deploy command. You should
now be able to chat directly with your Sidekick!
TODO: Add more information about the kinds of queries you can ask of the template Sidekick based on whatever the public corpus ends up being.
Local Development and Testing
The fixie deploy step can take a couple of minutes to build and deploy your
Sidekick to the cloud, which is a real bummer when you're testing things locally.
Fortunately, you can run your Sidekick locally, without needing to deploy it to
the cloud.
Instead of fixie deploy, you run:
$ fixie serve
This starts up the Sidekick running on your local machine, and sets
up a tunnel allowing the Fixie service to connect into your local
Sidekick. When you quit the fixie serve command (for example, by
hitting Ctrl-C), the Sidekick reverts back to the most recently
deployed version (from fixie deploy). Note that you need to fixie
deploy your Sidekick in order for it to run in the cloud.
As we make changes to our sidekick, we can simply stop serving our sidekick with Control+C and then serve up our new changes with the serve command as we did above.
Sending messages to your Sidekick
The Fixie Console page gives you a simple web interface to interact with your Sidekick, but you're not limited to this interface. You can chat with your Sidekick directly via a REST API, or embed the Sidekick chat UI in your own web app.
Method 1: Via the REST API
TODO(matt): Figure out the right invocation for this.
First up, let's ask our Sidekick a question through the Fixie REST API, using
curl. From your terminal:
curl 'https://console.fixie.ai/api/agents/<your user name>/<your sidekick name>' \
  -d '{ "message": {"text": "What can you do?" }}' \
  -H 'Authorization: Bearer <your Fixie API key>' \
  -H 'Content-Type: application/json'
For example:
curl 'https://console.fixie.ai/api/agents/sarah/fixie-sidekick-template' \
  -d '{ "message": {"text": "What can you do?" }}' \
  -H 'Authorization: Bearer FmEEMtjcHLfNGPrLhRQwQfwG9Li...' \
  -H 'Content-Type: application/json'
Method 2: Via the Fixie Console
- In your browser navigate to the Fixie dashboard.
- Click on your Sidekick.
- Enter a question for the Sidekick. e.g. "What can you do?"
You can also access your agent directly at:
https://console.fixie.ai/agents/<your user name>/<your sidekick name>
Method 3: Via Embedding in Another Web App
TODO(matt): Figure out what the right thing to do here is.

Additional Resources and Next Steps
You've got a template Sidekick deployed to Fixie. So what's next? Here are some suggestions:
TODO(ben/matt): We should figure out if we have time to write more complete documentation on creating Corpora, using tools, etc. or just want to tell people how to do it live. At minimum, we should explain the concept of Corpora and that you need to feed a Corpus ID into your Sidekick's code.
Create your own Document Collection
This will enable you to provide your Sidekick with specialized knowledge about your company, product, or organization. Create your own collection here.
Give your Sidekick Tools
Tools enable your Sidekick to do more tasks in response to what the end user needs.
TODO What should we say here/point to here?
Customize the System Prompt
TODO